HK-T500の組み立てと、SKYWING SW-80A SETTING
到着した機体にメカ積みして、さくっと完成。
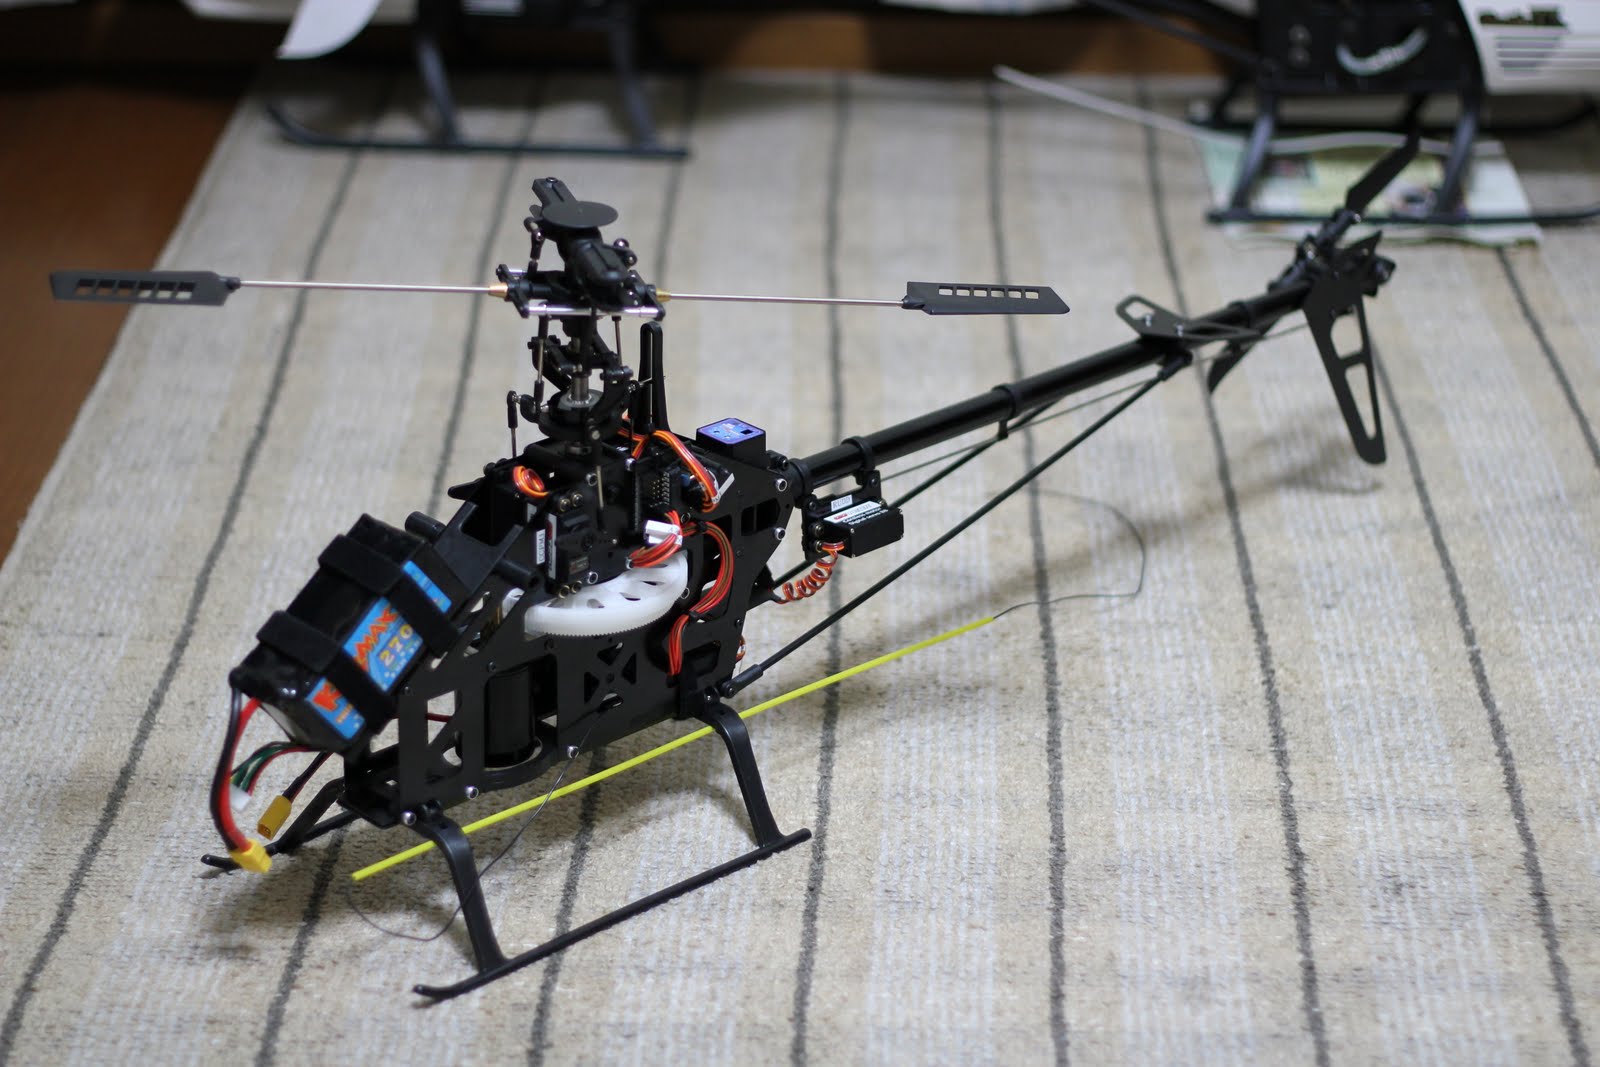
でも実際は、噂どおり組立済みヘッドのまずいところがチラホラ。まず、グリップ内部の、フェザリングシャフトにスラストベアリングが斜めに入った状態だった。2点目は、スウォッシュプレートとミキシングアーム間の計2本のロッドのうち、片方が明らかに別部品で、長さが明らかに違ってた。やはりヘッドは一度全バラから組み立てた方が、間違いなさそう。
ほかには、テールサーボマウントプレート側のネジ間隔と、ネジ止めマウント側のネジ間隔が微妙にずれてて、そのままではサーボが取り付けできなかったりもしたが、組み立て上、特に大きな問題なく、一応の完成。

そして、SWM(CCPM)に対応していない、X3810プロポでどうやってSWM機をコントロールするかというと、その答えはコチラ。

小型のICチップが見えるが、これはPICマイコンのPIC16F648A。
受信機からのエルロン、エレベータ、ピッチ信号を、PICでミキシングさせSWM信号に変更し、スウォッシュの3つの各サーボへ送っている。
それと、初めてのブラシレスモーター、かつESCのマニュアルが英語なので、設定が大変だった。
以下、原文(SKYWING製ヘリ用ブラシレスアンプSW-80A)
Speed Controller Programing Instructions For ESC with simple options
Phrases 1 Enter programing Mode
1.Connect your motor and reciver to the speed controller,but do not connect the battery yet.
2.Turn on your transmitter and move the throttle stick to the full throttle position(full up).
Please Note:Most Futaba transmitters have the throttle channel reversed by default.
3.Connect your battery and the controller will initialize with a musical tone.
Phrases 2 Programing
After 3 seconds,the contoroller will start beeping a sequence of tones a musical tone followed by one or more beeps.
Each sequence represents a parameter that you can program and is repeated 3 times.
The parameters are:
Table.1
♪- MusicTone + 1Beep Options 1. Cell Type and No.of Cells
♪-- MusicTone + 2Beeps Options 2. Throttle Setting
♪--- MusicTone + 3Beeps Options 3. Brake Setting/Throttle type(for Heli)
♪---- MusicTone + 4Beeps Options 4. Direction and Cutoff Type
♪----- MusicTone + 5Beeps Options 5. Timing Mode
♪------ MusicTone + 6Beeps Options 6. Pulse Width Moduration Setting
Step 1.Starting,Enter Sub-options.When you hear the sequence for the parameter you wish to program,
move the throttle stick to the Center Position to Enter Sub-options.
The controller will then start beeping a Morse code sequence of short and long beeps representing
the possible options you may choose for the selected parameter.
See table 2 for a list of all programable options.Each option sequence is represented 3 times.
Step 2.Selected and save,the select the option,move the throttle stick back to the Full-Up-position.
When you hear the sequennce for the option you wish to select.
The controller will then save the selected option,and sound a long beep as a confirmation.
It then gose back to the biginning of the programming sequence(phrase 2).
Step 3.Complete programing and save options.
Setup all the Parameters you need to change.
When complete, move the throttle stick to the Lowest(Down)Position.
The controller will save all options and re-initialize in normal running mode so you can start your motor.
The table below summarizes the various programing options for each parameter:
Table.2
1.♪- For(2S-7S)-ESC Cell Type and Number of Cells
.- 1Short + 1Long NiMb/NiCD Auto Cell Count-0.8V/CellCutoff Voltages
.-- 1Short + 2Long 7S Li-Po(25.9V) 21V Cutoff Voltage
.--- 1Short + 3Long 6S Li-Po(22.2V) 21V Cutoff Voltage
.---- 1Short + 4Long 5S Li-Po(18.5V) 21V Cutoff Voltage
.----- 1Short + 5Long 4S Li-Po(14.8V) 21V Cutoff Voltage
.------ 1Short + 6Long 3S Li-Po(11.1V) 21V Cutoff Voltage
.------- 1Short + 7Long 2S Li-Po( 7.4V) 21V Cutoff Voltage
2.♪-- Throttle Setting
..- 2Short + 1Long Auto Throttle Range *
..-- 2Short + 2Long 1.1ms to 1.8 ms
..--- 2Short + 3Long Hard start *
..---- 2Short + 4Long Soft start
3.♪--- BrakeSetting(For normal Aircraft)
...- 3Short + 1Long No Brake
...-- 3Short + 2Long Soft Brake *
...--- 3Short + 3Long Medium Brake
...---- 3Short + 4Long Hard Brake
4.♪---- Direction and Cutoff Type
....- 4Short + 1Long Clockwise Rotation *
....-- 4Short + 2Long Counterclockwise Rotation
....--- 4Short + 3Long Soft Cutoff
....---- 4Short + 4Long Hard Cutoff *
5.♪----- Timing Mode Setting
.....- 5Short + 1Long 1degree-For 2-4 Pole Inrunner Motors *
.....-- 5Short + 2Long 7degree-For 6-8 Pole Motors
.....--- 5Short + 3Long 15degree-For 10-14 Pole Outrunner Motors
.....---- 5Short + 4Long 30degree For 10-14 Pole High-RPM Outrunner Motors
6.♪------ Pulse Width Moduration(PWM) Setting
......- 6Short + 1Long 8KHz-For low RPM and low pole count motors *
......-- 6Short + 2Long 16KHz-For most out runner motors
* is Default Setting
手順を要約すると、
①送信機電源ON、スロットルを全開にする
②モーター、ESC、バッテリーをつなぐ(受信機側電源ON)
③Table.1 の各メニューのメロディーがESCから順番に鳴るので、設定したいメロディー
のときに、スロットルを中立にすることで、サブメニューへ。
④サブメニューでも、各項目ごとのメロディーが順番に鳴るので、設定したいメロディー
のときに、スロットルを上にすることで、設定。そして最初のメニュー選択へ戻る。
⑤ ③~④を必要回数繰り返し。
⑥設定保存は、最初のメニュー選択のところで、スロットルを下にする。
⑦以上で完了。その状態でスロットルを上げると、モーターが回転し始めるので注意。
ちなみに、設定は以下のとおりとした。
1. Cell Type and No.of Cells
.---- 1Short + 4Long 5S Li-Po(18.5V) 21V Cutoff Voltage
2.Throttle Setting
..- 2Short + 1Long Auto Throttle Range *
..---- 2Short + 4Long Soft start
3. Brake Setting/Throttle type(for Heli)
...- 3Short + 1Long No Brake
4. Direction and Cutoff Type
....- 4Short + 1Long Clockwise Rotation *
....--- 4Short + 3Long Soft Cutoff
5. Timing Mode
.....--- 5Short + 3Long 15degree-For 10-14 Pole Outrunner Motors
6. Pulse Width Moduration Setting
......- 6Short + 1Long 8KHz-For low RPM and low pole count motors *
あとはテストフライト。うまく飛ばせられるだろうか。
※2011/12/7 設定値を変更


コメント
コメントを投稿